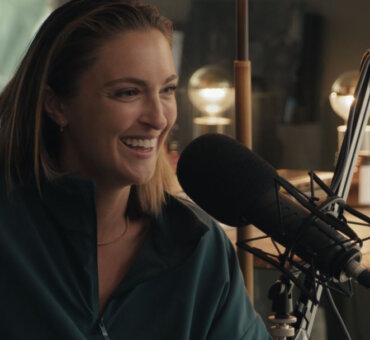


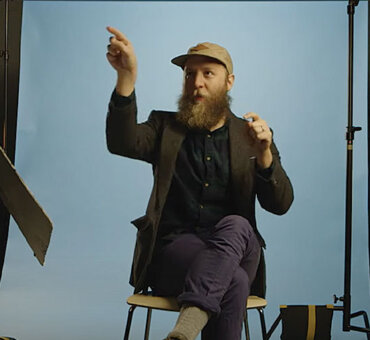


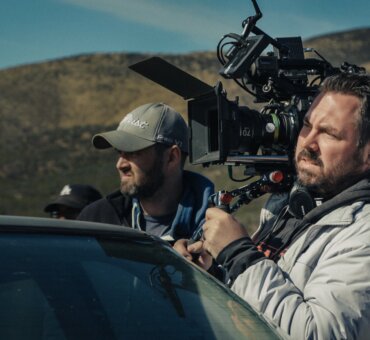


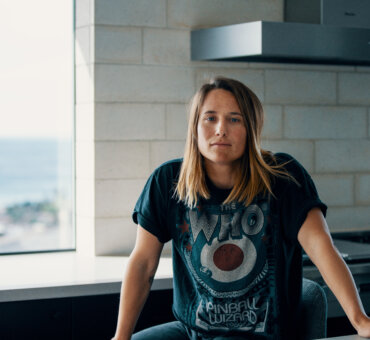
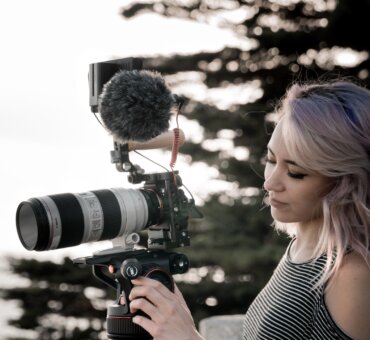


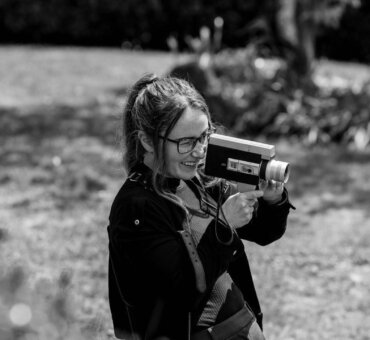

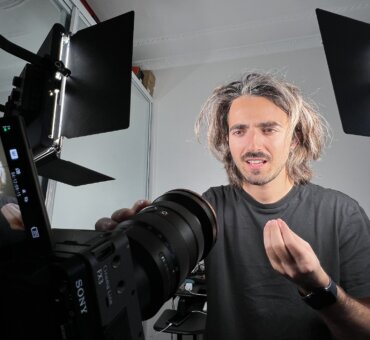


YouTube Masters is an educational series, led by creators, for creators. Each episode features different YouTube Masters equipping you with tools to use in improving your channel. In this episode, Iz Harris shares with us how she’s learned to create the perfect travel film. Here’s Iz:
I make videos about everything from travel to mental health to interior design — really everything! I like to say that I specialize in telling stories about the beautiful, and the hard. Today we’re going to talk about travel filmmaking and how to really capture the essence of a place.
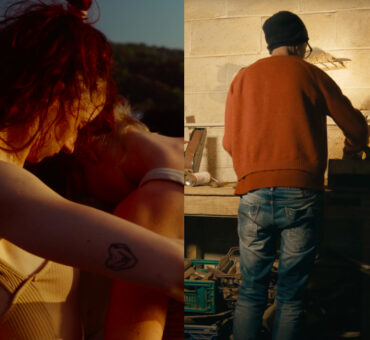
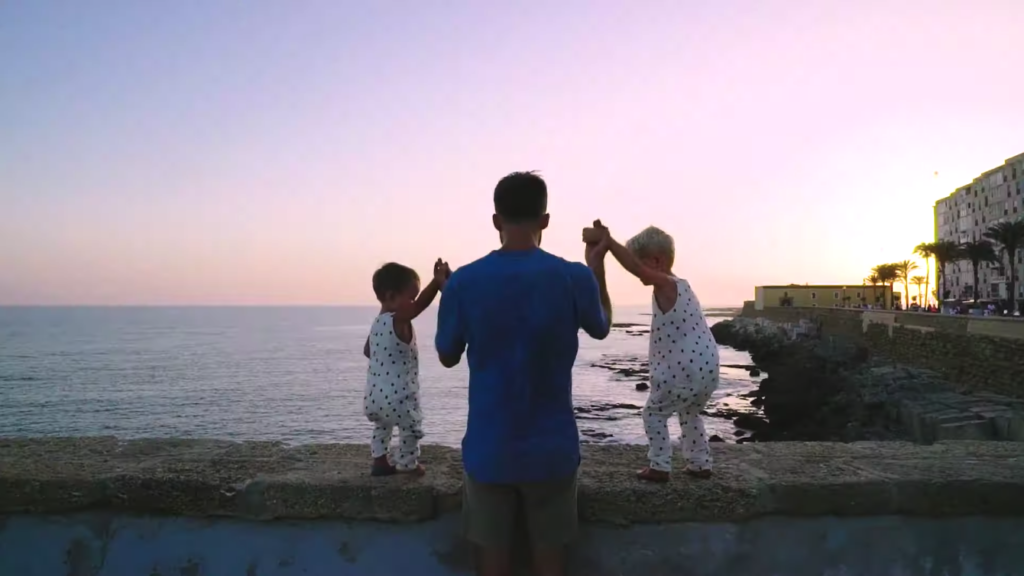
When you visit a new place, you are bombarded with so many new things. So many sensations, so much newness. The challenge with travel filmmaking is to take all of that, bottle it up into a video, and create something that doesn’t just show what a place looks like, but what it feels like. What I mean by that is — when your audience sits back and watches your travel film, instead of them just seeing what the place looks like, they’re going to have a fully immersive experience. They’re going to have a feel for what it sounded like, what it smelled like, what it felt like, what the place, the culture, the context is really like.
I’m going to walk you through the specific areas that I am mindful of when it comes to making a travel film. We’re going to go through the process, from start to finish, with one goal — fully immersing your viewer in a travel experience.
Preparation
Capturing an experience in a place doesn’t begin once you’re on the ground. There’s a lot of prep that goes into doing a place justice. And depending on the scale of the project you’re working on, or the film that you’re trying to create, this can take anywhere from a few hours, to a few weeks. One question you might have is, “How detailed should I get in the planning?”
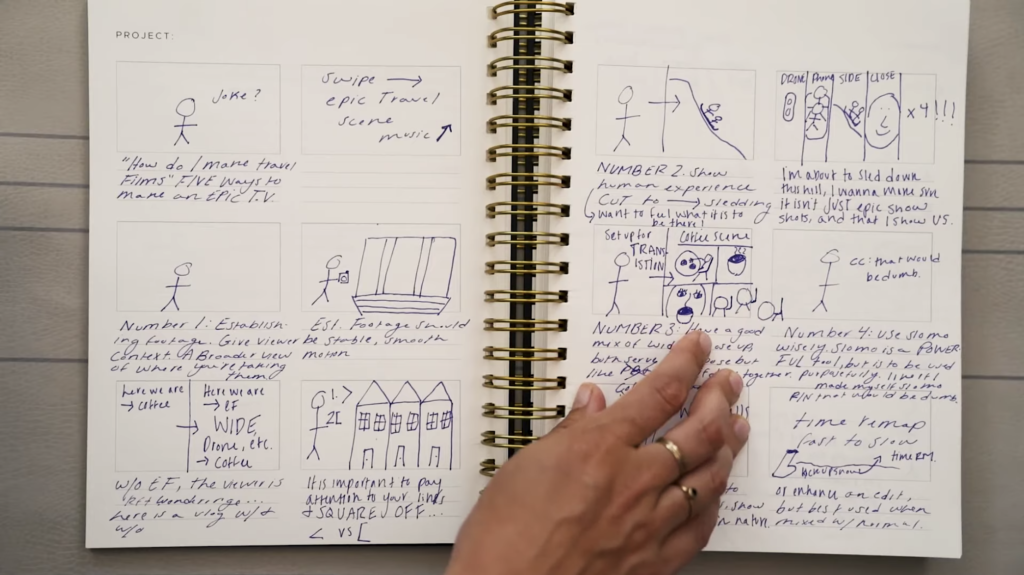
As an avid storyboarder who storyboards with most of my video projects, I actually don’t storyboard for travel videos. This is for a bunch of reasons, but mainly it’s because travel is entirely unpredictable. And when you’re capturing the experience, you don’t want to be basing it off of a script. You really want to let it flow naturally. So, you might be wondering, “Well then, how do you capture all the things?”
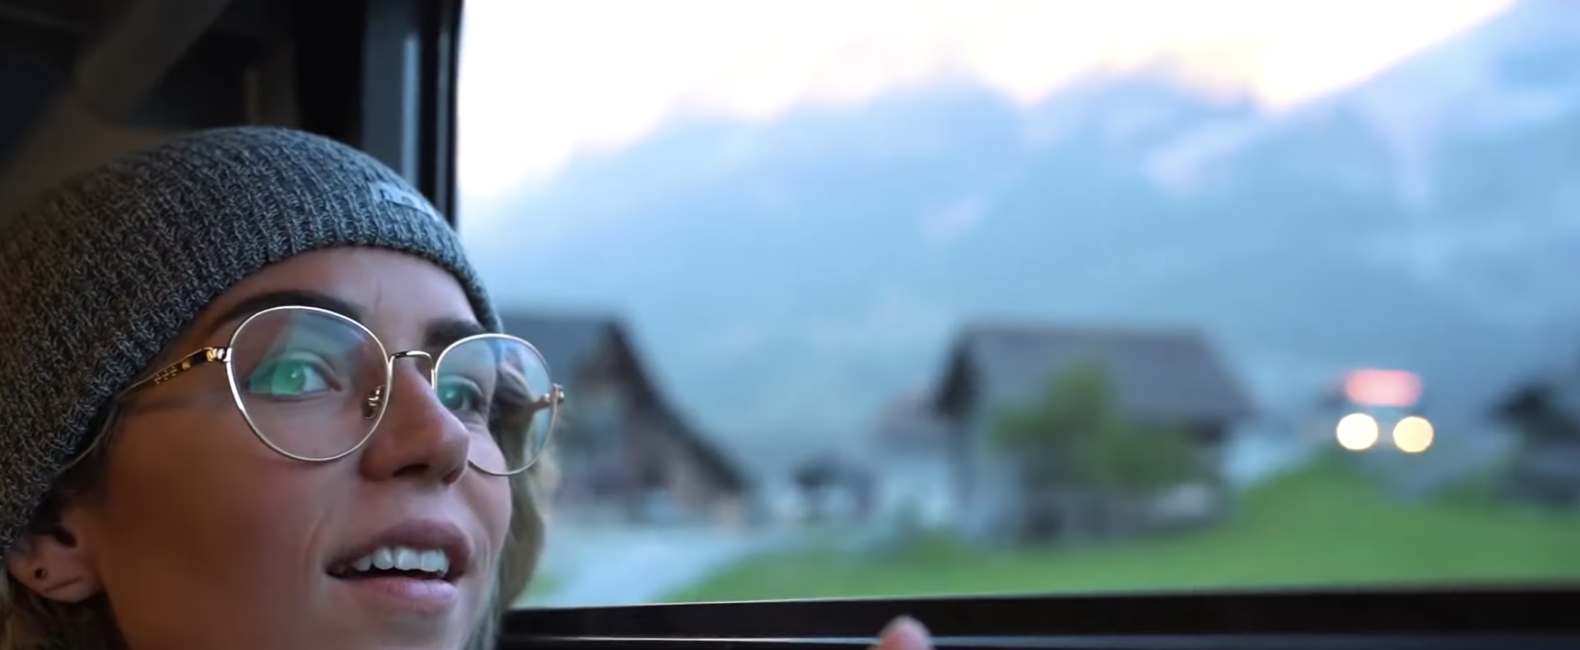
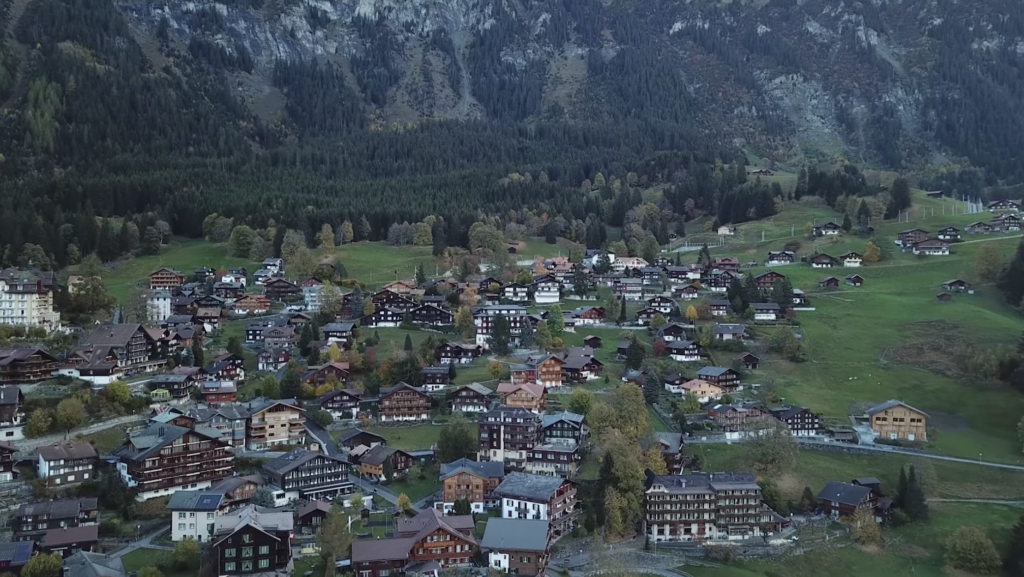
Instead of making a frame by frame plan like I would for other films, I plan it like I would a trip. I come up with the main special things about that place that someone would have to see to fully experience it. For instance, when I was headed to Switzerland, I knew that this was going to be a few things: mountains, trains, tiny villages, and open valleys. I planned my trip accordingly to make sure that I would capture those key things that help to give an accurate view and perspective of that place.
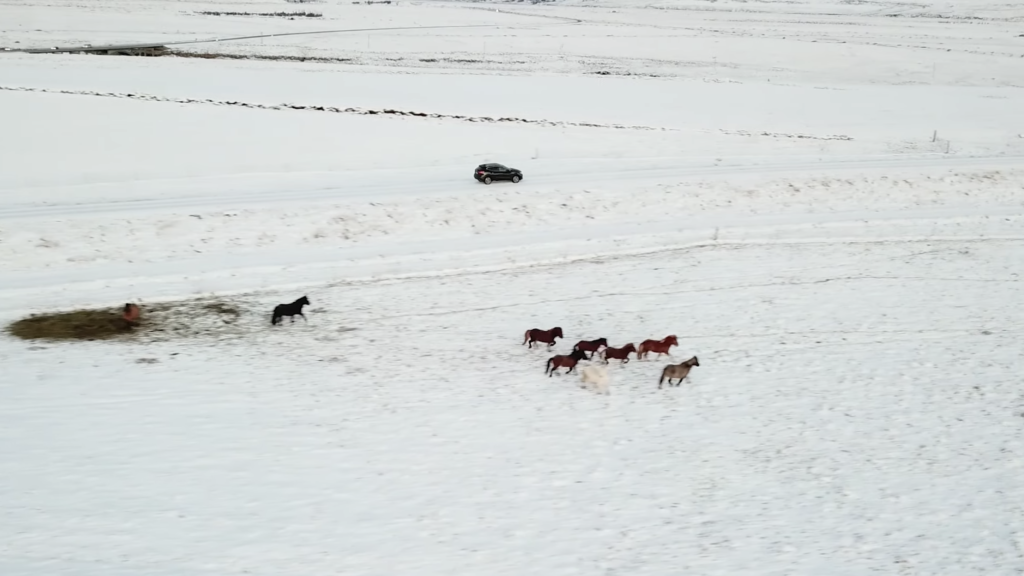
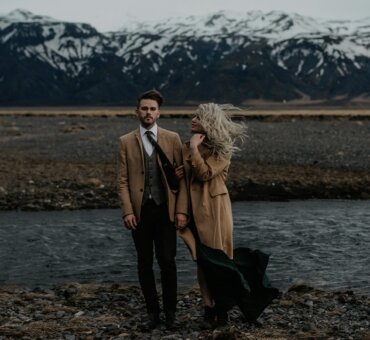
Similarly, when I was planning my film for Iceland, I knew I was going to have to capture a certain set of things for that place. The thermal energy rising off of the hills. The open roads. The icy blue lagoons. And the dramatic cliff beaches.
I plan my trip accordingly. And then instead of storyboarding each of the specifics, I follow a formula to make sure that I get a variety of shots, and the shots that I need to show the place.
Shooting
I try to work within a formula to really capture what I need. The formula comes in three parts, and for each part, I try to get three to five good shots for each major scene in the trip.
1. Establishing Footage
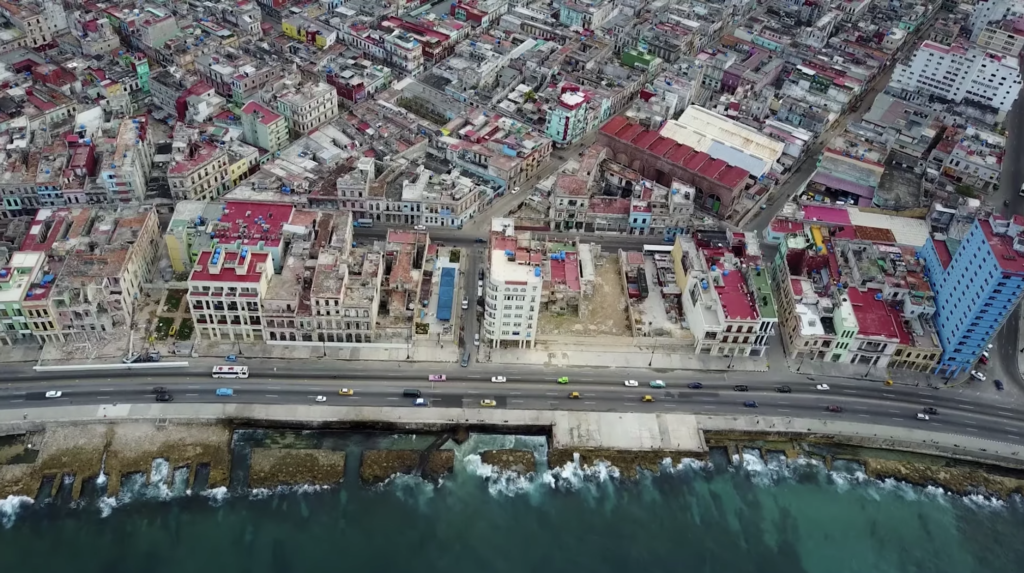
Establishing footage is going to be wide and it’s going to provide context. You have to remember that when your viewers are watching this film, a lot of times they have never been to the place that you’re showing them. So, having a few shots that provide context of the place allows them to just get settled, and have a better perspective and understanding of what’s to come.
I like to think of establishing footage kind of like an anchor. It’s what’s going to help them stay put, this is where we’re at, and now I’m going to show you some footage that really dresses that up and gives it some personality.
2. Experience Shots
These are the shots that are going to occur in a linear fashion, to really hold your viewer’s hand in the process of what’s taking place.
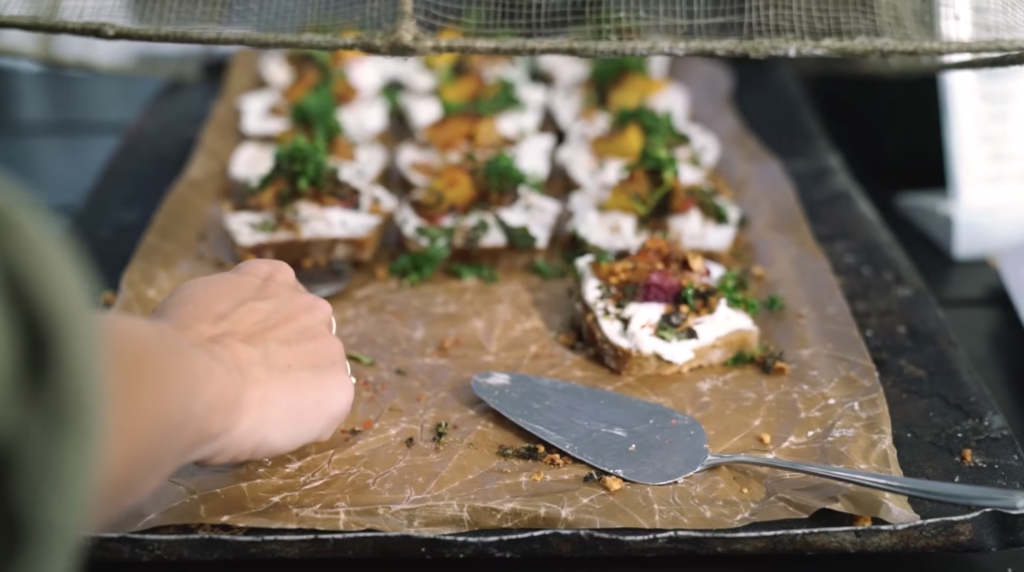
So let’s say you’re sitting down to eat — this might show you walking to your table, getting seated, taking out the menu, and then the food arriving. These experience shots are what really build out the story. With the establishing, now your viewer knows where they’re at, and they need those experience shots to really take them through the experience of that scene. This footage really gives your viewer an understanding of the flow and sequence of events, and just really allows them to go along this journey with you.
3. Texture
This is honestly my favorite part of the formula. This footage on its own is merely decorative, but when mixed with the context of establishing footage, and the sequencing of events that the experience footage gives you — it just takes everything from being a normal viewing experience, to a fully immersive experience where you’re getting a little bit more of the depth of what that scene had to offer in person.
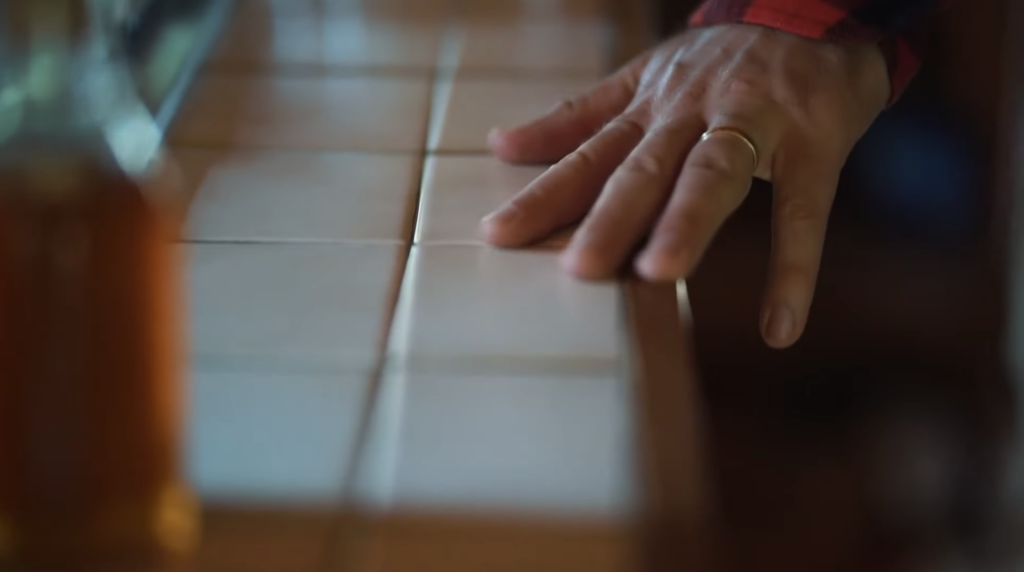
Texture footage is a perspective that typically someone would only see if they were on the trip with you. They’re usually up-close, detailed, abstract shots that just give the viewer this feeling of being in that room. This might be an up-close shot of coffee pouring into a cup. It could be cream going into tea, or a hand gliding along moss on a tree, or a really up-close shot of a smoldering fire.
Texture isn’t just up-close shots. It can also be wide, but the way that I identify it as texture, is that on its own it would be purely decorative. So maybe it’s a shot of you twirling in the street, and it just adds some of the emotion, and joy that you experienced in that place.
Texture footage is what’s going to take this film and really elevate it to the next level. It helps enhance your establishing footage, your experience footage, and really bring your viewer along for the ride. So now that you have your three-part formula for shooting — you’ve got your establishing experience footage and texture footage, we are going to dive into the editing.
Editing
So you’ve gone to the place, you have captured all the scenes and all the things, and you followed the formula to make sure that you got all the footage you need, and you just cannot wait to put it on that timeline. There are really three main things in the edit that are going to give your video the feeling that you desire.
1. Flow
Similar to the formula we talked about with shooting, your edit is going to follow a flow and structure throughout. So, you’re going to start with establishing footage of the place. This gives your viewer an idea of what the overall trip was like. I like to just pick some of the best shots from the trip. And it just really roots them and establishes them in the experience they’re about to have.

The next thing you’re going to do is introduce the place. This can be with an on-cam sequence where you’re saying, “Hey! We’re in Iceland” or you can use a title slate just making sure you’re giving that information as to where they are, and what they’re about to experience. And then from there it’s the series of those main scenes that take them through the experience that you just had on this trip.
These scenes will loosely follow the formula that you used when shooting: First, giving that contextual footage. Then, seamlessly going into that experience footage, and within that experience footage, adding in and sprinkling in that texture footage to just give it a little bit more depth, so that the viewer feels like they’re truly there with you.
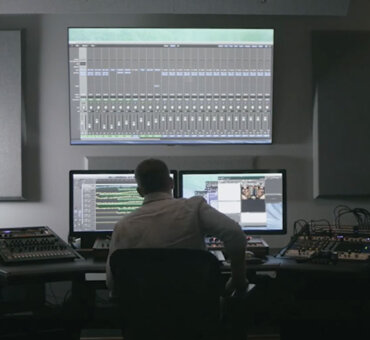
2. Sound Effects
Now that you have your timeline down, this is where you get to start decorating your film if you will. For years, I have been afraid of using sound effects. I was afraid that I’d use too much or too little, they’d be too subtle or not subtle enough. And the reality is, is that sound effects are a massive part of creating that fully immersive viewing experience, of really capturing the essence of the place that you just traveled to. They are chronically underrated and underused and really, really add to your film.
Whether you’re really packing in your intro with some sound effects, or you’re sprinkling them throughout or adding them to a montage — they’re going to add so much more feeling to your film, and give your viewer an idea of not just what the place looked like, and felt like, but what it sounded like too.
Listen, the more that you experiment with sound effects, the more natural it’s going to feel. You’re going to figure out the volume and the levels. And how much is too much and how much is not enough. And throughout that process, you’re going to be dramatically enhancing the quality of your travel films. Try out the sound effects. Experiment with them. Improve, learn. They’re essential.
3. Pacing
I think sometimes we get so excited to be in the editor and to be laying down the footage, and throwing in some montages here, and a funny moment there, that we forget that the film as a whole needs to be a cohesive viewing experience.
For example, if you are capturing a fall road trip that’s packed with nature, pit stops, and hikes you’re going to have a different pacing than you would with a film where you’re adventuring through the swiss alps. For both of those films, there’s going to be an entirely different pace.
That fall film might have a bit of a slower pace to it. So, you’re holding more of those establishing shots allowing for slow moments to really unfold. Whereas with that adventure film, you’re adding all the fancy editing right. There’s time remapping, a lot of quick cuts to maybe a beat of a song. You’re really trying to drive that energy up as much as you can. Depending on the experience that you just had in that place, you have to decide what is the appropriate pacing for this film.
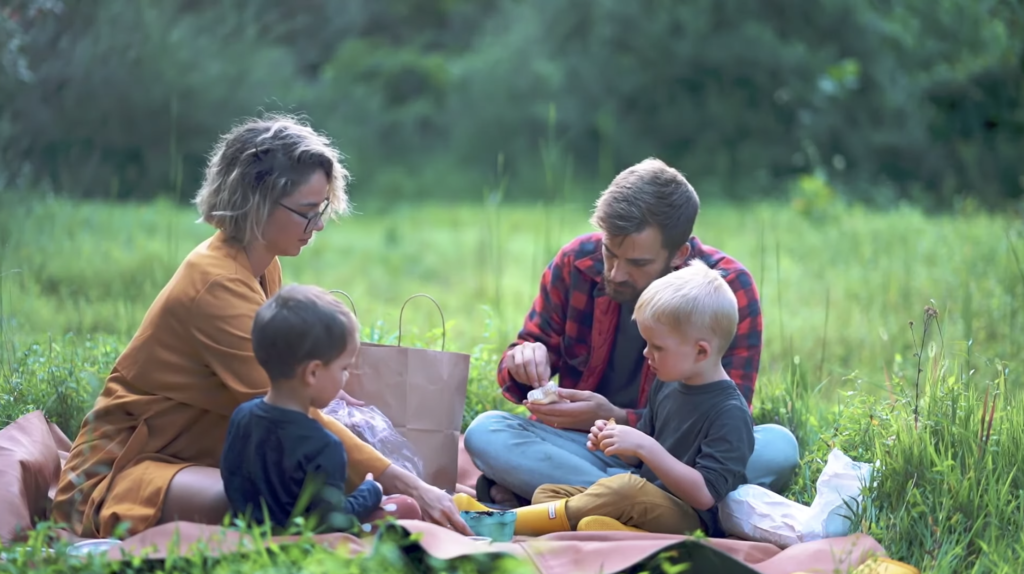
Does a film about a fall picnic with my family warrant time remapping and really quick cuts? No, that would probably feel very out of place for the tone of what that experience was. Similarly, should my film in Costa Rica where we were adventuring through all these different places, be really slow and gentle? No, that was a kinetic, wild trip and I want to capture that in the pacing of the film. Pacing is essential. And just remember that it really truly should be reflective of the experience of the place that you’re capturing.
Just as we put time into planning the trip and really making sure that we were visiting those places to get an accurate perspective of the place — you want to ask yourself, “What was the overall theme of this experience? What am I trying to communicate to the viewer?” And then, selecting your music. your pacing, your editing style based off of that.
Editing is your opportunity to take a bunch of different tools and use them to create a cohesive immersive viewing experience — something that really directly translates to what you are trying to tell the viewers about the trip that you just had.
Now that we’ve talked through the planning stages, the shooting stages, and the editing stages, I think you’re ready to go create a travel film of your own. Following these tips should not only allow you to experience that place, but then capture it and really do it justice, and create something where you can come back, and re-watch it and relive it in its full glory.
To watch Iz’ travel films, head over to her channel.
Subscribe to Musicbed’s YouTube Channel to watch more of the YouTube Masters series.